Add a Warehouse
First, ensure the Warehouse you need is available.
Click on the Wines tab, and on the left, click on Manage Warehouses.
Create a new Warehouse, if necessary, by clicking Add Warehouse on the left.
Add a Warehouse to Items
Once you have your warehouses set up, you can add the warehouse to your items in two ways.
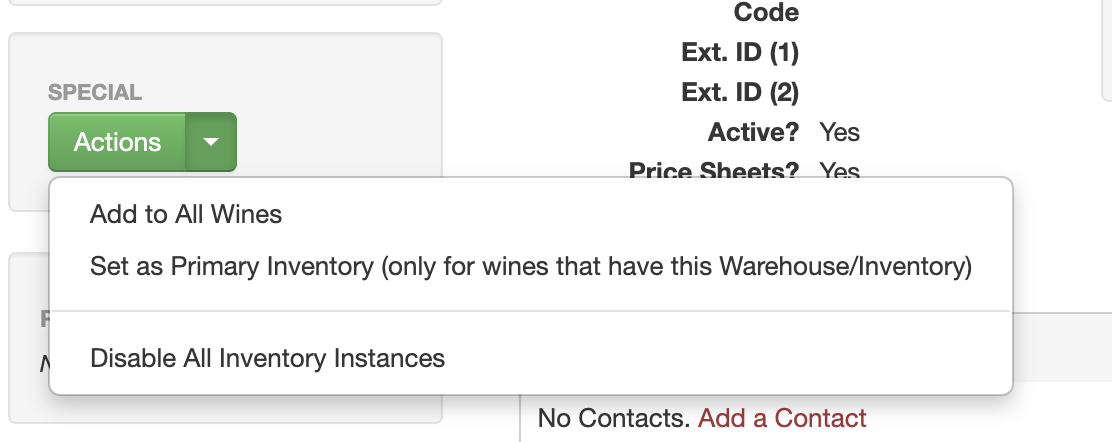
From the Warehouse Page
Click the Action button, then select "Add to All Wines." This will add the warehouse to each item (no inventory quantities are added)
From an individual item
Go to the specific item.
In the Inventory section, click on the blue Manage button.
On the left, click on Add Inventory
Choose the Warehouse to add to this wine, complete any more relevant details and save your changes.
Your wine now has a presence at the warehouse!
NOTE: You may also need to create Delivery Methods for this new warehouse. Please see the article below or contact help@vinosmith.com.
To update or add a warehouse or inventory to items in bulk, please see the article below.
Batch Update Inventory
If you have more than a handful of inventory adjustments to make it is easier to specify the new quantities in Excel and upload it as a batch.
How to Make a Warehouse Primary
Steps to assign a primary warehouse to items
Export Current Inventory
Inventory can be visualized via the Interactive Inventory tool or exporting inventory from the Wines page